29 December 2012

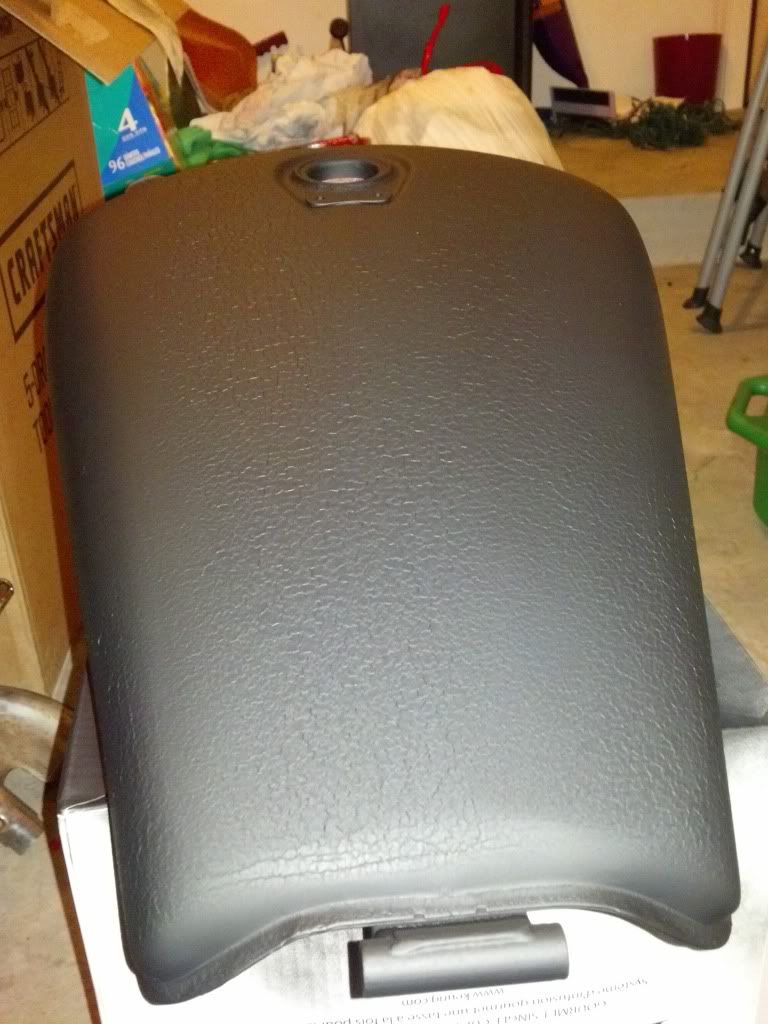
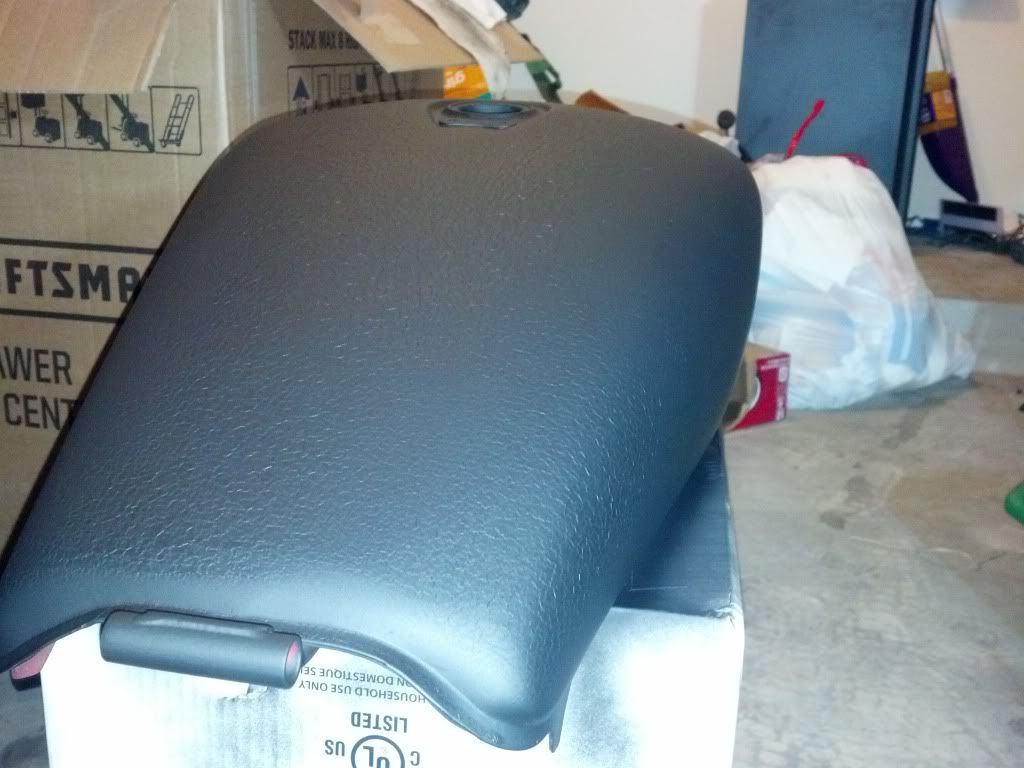
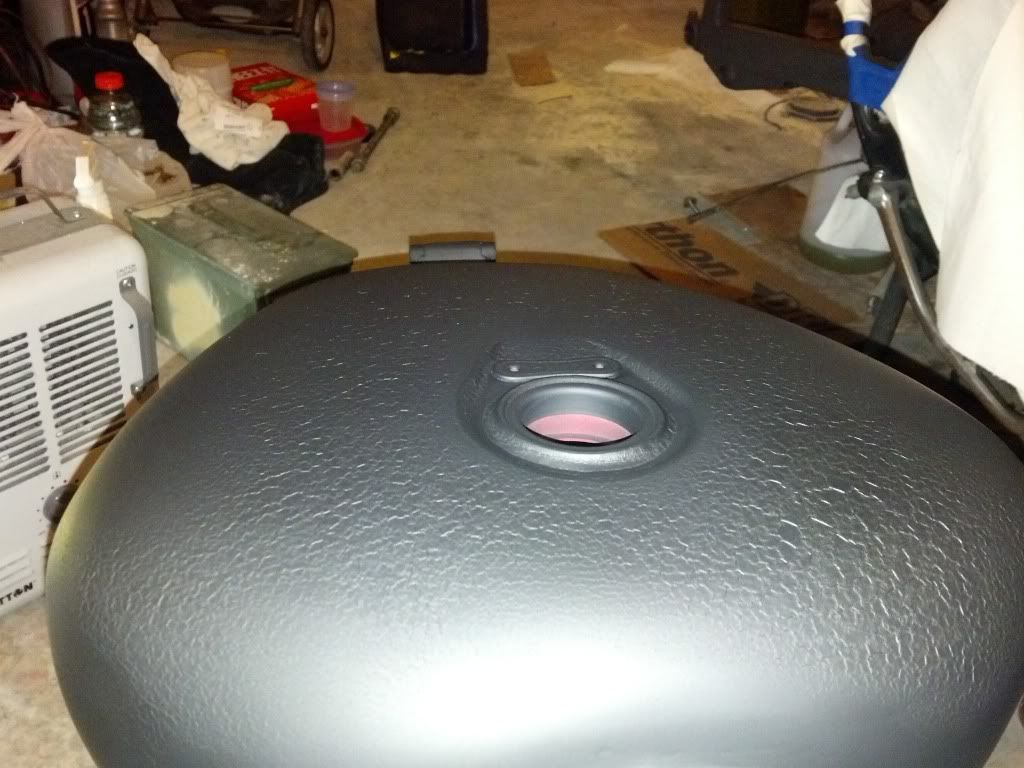
Tonight I ran into a bit of a problem. I painted the red on the tank last night around 6pm. I wet sanded at around 2:30pm today, cleaned it off with paint thinner(as i did with previous coats), and painted the top coat of flat black at 6pm tonight. this is the result:


By harnessing the full power of Google, I found out this is call 'Alligatoring'. And i'm pretty sure I basically jumped the gun on sanding and recoating, not allowing the red coat of paint to fully cure.

My dilemma is this; I can sand it all back down and start over, or I can leave it as is and carry on with my plans. The 'alligatoring' is actually really symmetrical, It is smooth(like paint should be) around the corners, and alligatored on the more flat surfaces. It almost looks like it was done like that on purpose, and I think looks kinda cool. I just don't don't want a finished product that looks like sh!t.

And if your wondering why I put black over that nice red color, I am trying something different. I got the idea from an auto body veteran, he has never done it but I thought it was a cool idea.
Paint two different colors, sand through the top color in sort of random spots so the under color shows through.
Before this alligatoring business I figured that if I didn't like it that I would simply paint back over it. Now if it turns out bad I will have to start back at square one...

22 December 2012

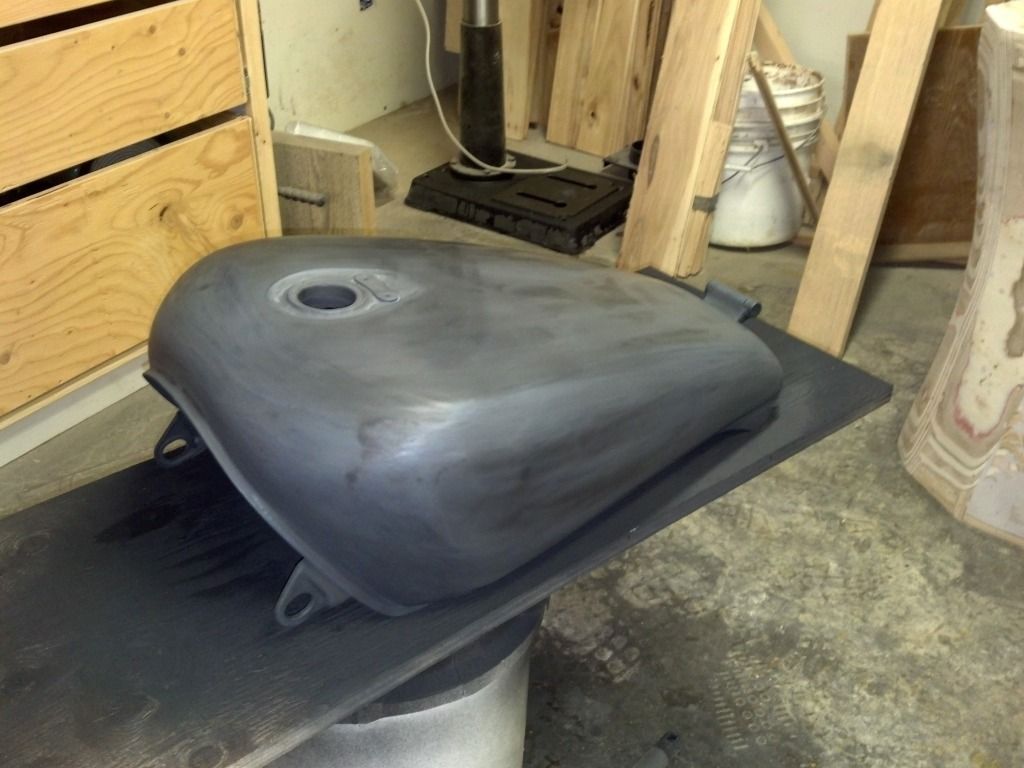
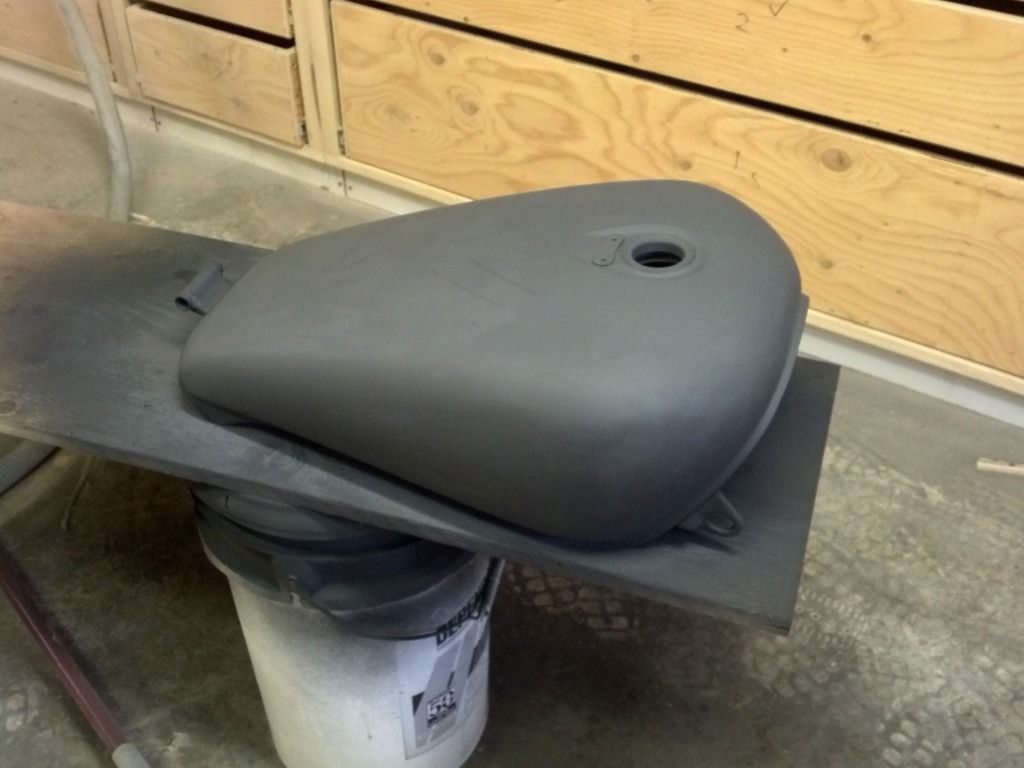
Finally got around to final bondo work and sanding, I sanded and re-bondo'd 5 or 6 times. It's not perfect but I'm convinced it is the best I could do with my limited experience.
This is rattle can primer. I am debating whether to spray the top coats, or just rattle can them and do a good couple wet sands.


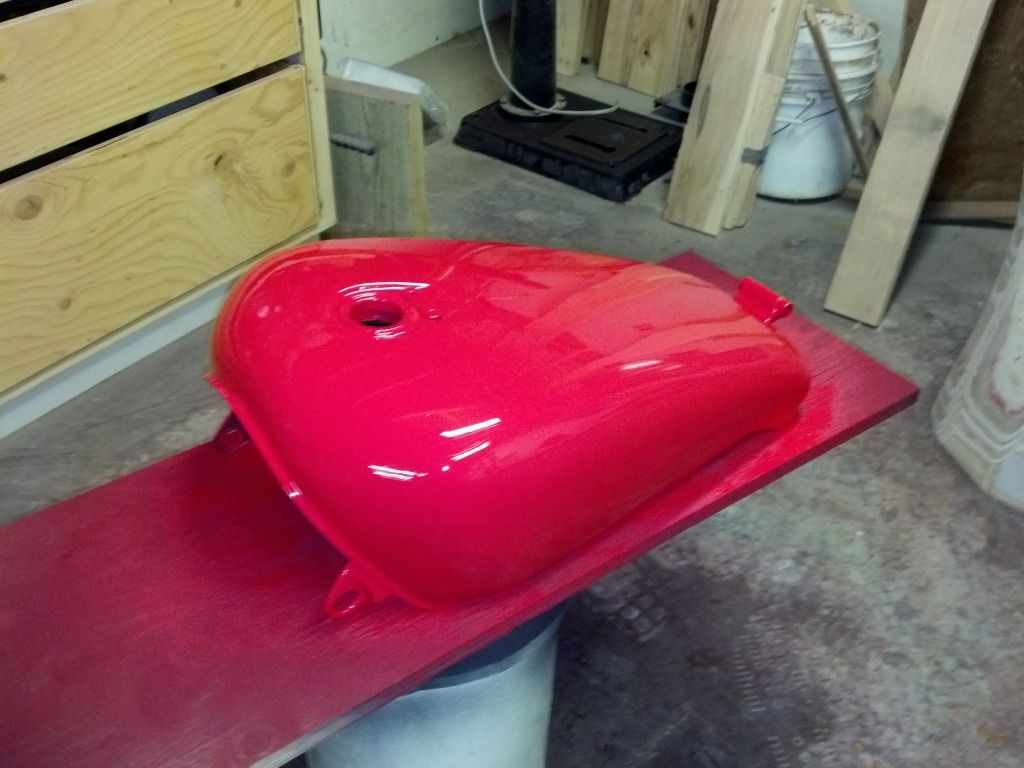
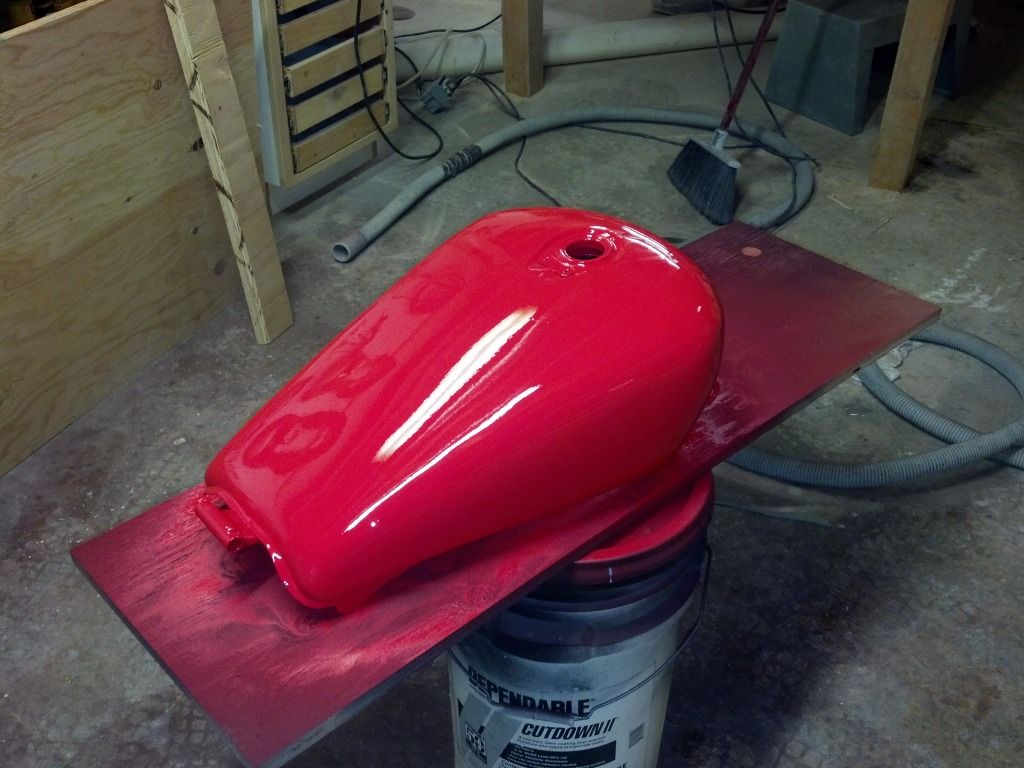
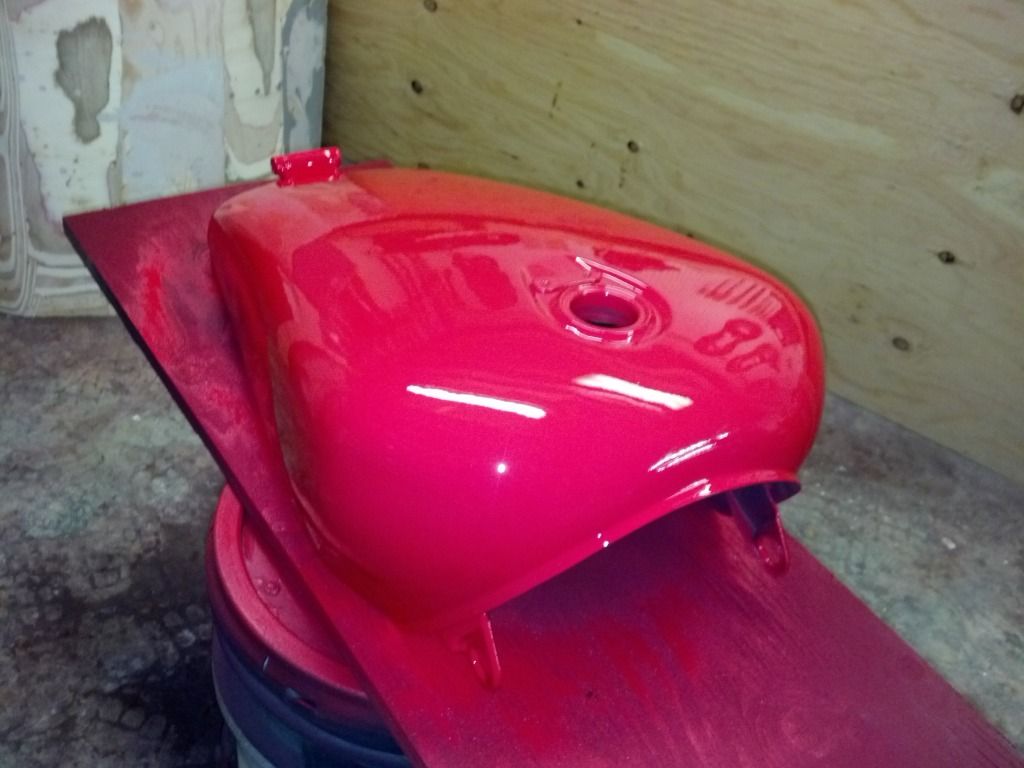
Wet sanded with 2000 grit.


Rustoleum Red - Rattle can


25 October 2012

Gas Tank Rehab...

This is me, doing the same thing as alot of people have done before. Painting my gas tank.

The bike got dropped by the previous owner, so also as alot of bikes, it had a dent in that top corner of the tank. You can also see in the pic dents on the smaller part of the tank.


To start took 120 grit sandpaper to the whole tank, using a small air sander(2in disks). I think I went through a dozen pieces.


Once it was all sanded I sandblasted it all, minus the sections with bondo.


Then for the bondo-ing. This is my first ever attempt with using bondo. I started using fiberglass bondo for the deeper spots, but left it 1/8 to 1/16 from the surface, so that I could cover over it with regular bondo. I was told by someone that knew what they were doing, that this is the best way. I am going to have to do another coat after I sand it down, there was some inconsistencies that I could not deal with(In-experience) while the bondo was wet.


17 October 2012

The Teardown...

I started my winter teardown yesterday, I have only been able to work on it for a couple hours the last couple days, between work and taking care of a 7-month old sweetheart at night...

In the near future the plans are:
Make new bars
Re-fab reserve tank using a military surplus 5 Liter gas can to fir where stick reserve tank sits.

This is the bike as it sits tonight.


15 October 2012

Road Trip

A couple weeks ago I went to Southern Utah to work for a week. A perfect opportunity to see how the bike rides, and how reliable it is.
The way there was pretty un-eventful. Got a leak in the radiator hose, at the top of the radiator that goes to the overflow tank. Easy fix just had to cut 1 inch off the top of the tube and re-attach.

While I was there I ran out of fuel on the way to work. At the time I didn't know it was out of fuel. I ruined the starter trying to start it back up. I never ran it more than 5 seconds at a time, let it sit for about 30 seconds in between starts, maybe it was just its time to go...? Irregardless I had to leave in 3 days back to home. I had to overnight the part because I couldn't risk 2-day shipping, and the price between the two were within a few dollars. In the end a #50 part turned into a $100 part.

It was a good chance to check gas mileage numbers as well, 500 miles round trip, 4 tanks of gas. I averages 40 miles per gallon. Not too shabby for a 30 year old bike...

12 October 2012

Pipes.

I am in the process of putting different pipes on my Honda.
I found a set of stock Harley Davidson mufflers from an 09' Nightster. They were on KSL(local classifieds) for a whopping $20!
This pic is not my mufflers per say, I didnt take a pic of mine when I got them, and now they are in the paint process... But its what they look like


Paint I used was Black Hi Temp Rustoleum, here it is after the 2nd coat. I will probably put another 2 coats on before i'm finished. Give it a good 48 hrs to fully cure. Then see how it looks on the bike!


Updated the rear end a bit. Painted the sissy bar/luggage rack black, as well as the rear fender. Removed the blinkers and brake light. Replaced them with LED's. The brake light is just an LED trailer brake light from wal mart, the blinkers are LED 'switchback' strips. They stay white till you turn on the blinker, then they alternate between yellow and white.